In this post I’ll explain how to use a special feature in Android, called “device owner”, to deploy a “kiosk” application and implement a custom Mobile Device Management (MDM) solution. If you need to build a kiosk applications or look for alternatives to commercial MDM solutions, you’ll find much useful info in this article.
Kiosk
To understand what “kiosk” is, think about the payment terminals and digital point-of-sale registers that you see all around you nowadays (in shops, restaurants, etc.). Many of them are powered by Android, but, when you turn these devices on, you don’t see the standard Android home screen. Instead, one specific preinstalled app opens up right away and you can’t leave it. This mode of operation is called a “kiosk” – the device is configured to launch a specific application in foreground and doesn’t allow switching apps.
Another name for devices that belong to a company and are locked in kiosk mode is Company Owned Single Use (COSU) devices. This category includes payment terminals, medical devices, orders and inventory management systems, information boards and many others.
When a device is in kiosk mode, it becomes impossible to access Google Play app on it. Furthermore, many of these COSU devices are powered by custom Android ROMs which weren’t certified by Google to begin with, so they don’t have Google Play at all. But if Google Play isn’t an option, then how the companies that own these devices update their applications? Surely, they don’t just send their technicians to all the deployed devices to install each new version of the app, right? That’s where MDM enters the picture.
Mobile Device Management
Before we discuss MDMs, let’s revisit the distribution mechanics of a “regular” Android application:
- The company that built the app uploads the artifacts to Google Play servers through the web-console (or API).
- Google Play verifies the integrity of the uploaded artifacts.
- Google Play makes the app available to both new and existing users (in the form of a new app downloads inside Google Play app, or updates to the existing installations, respectively).
The core of this “standard” distribution scheme through Google Play is that users should choose to install (and, sometimes, update) the applications. This works great for most applications, but there is still a large segment of “special” business use cases that are either difficult, or impossible to implement using this approach. A fleet of COSU devices deployed in the field is one of these “special” situations.
Conceptually, two features which are absolutely required to support deployment of a fleet of COSU devices are:
- Ability to lock specific Android application into kiosk mode
- Ability to update the kiosk Application remotely
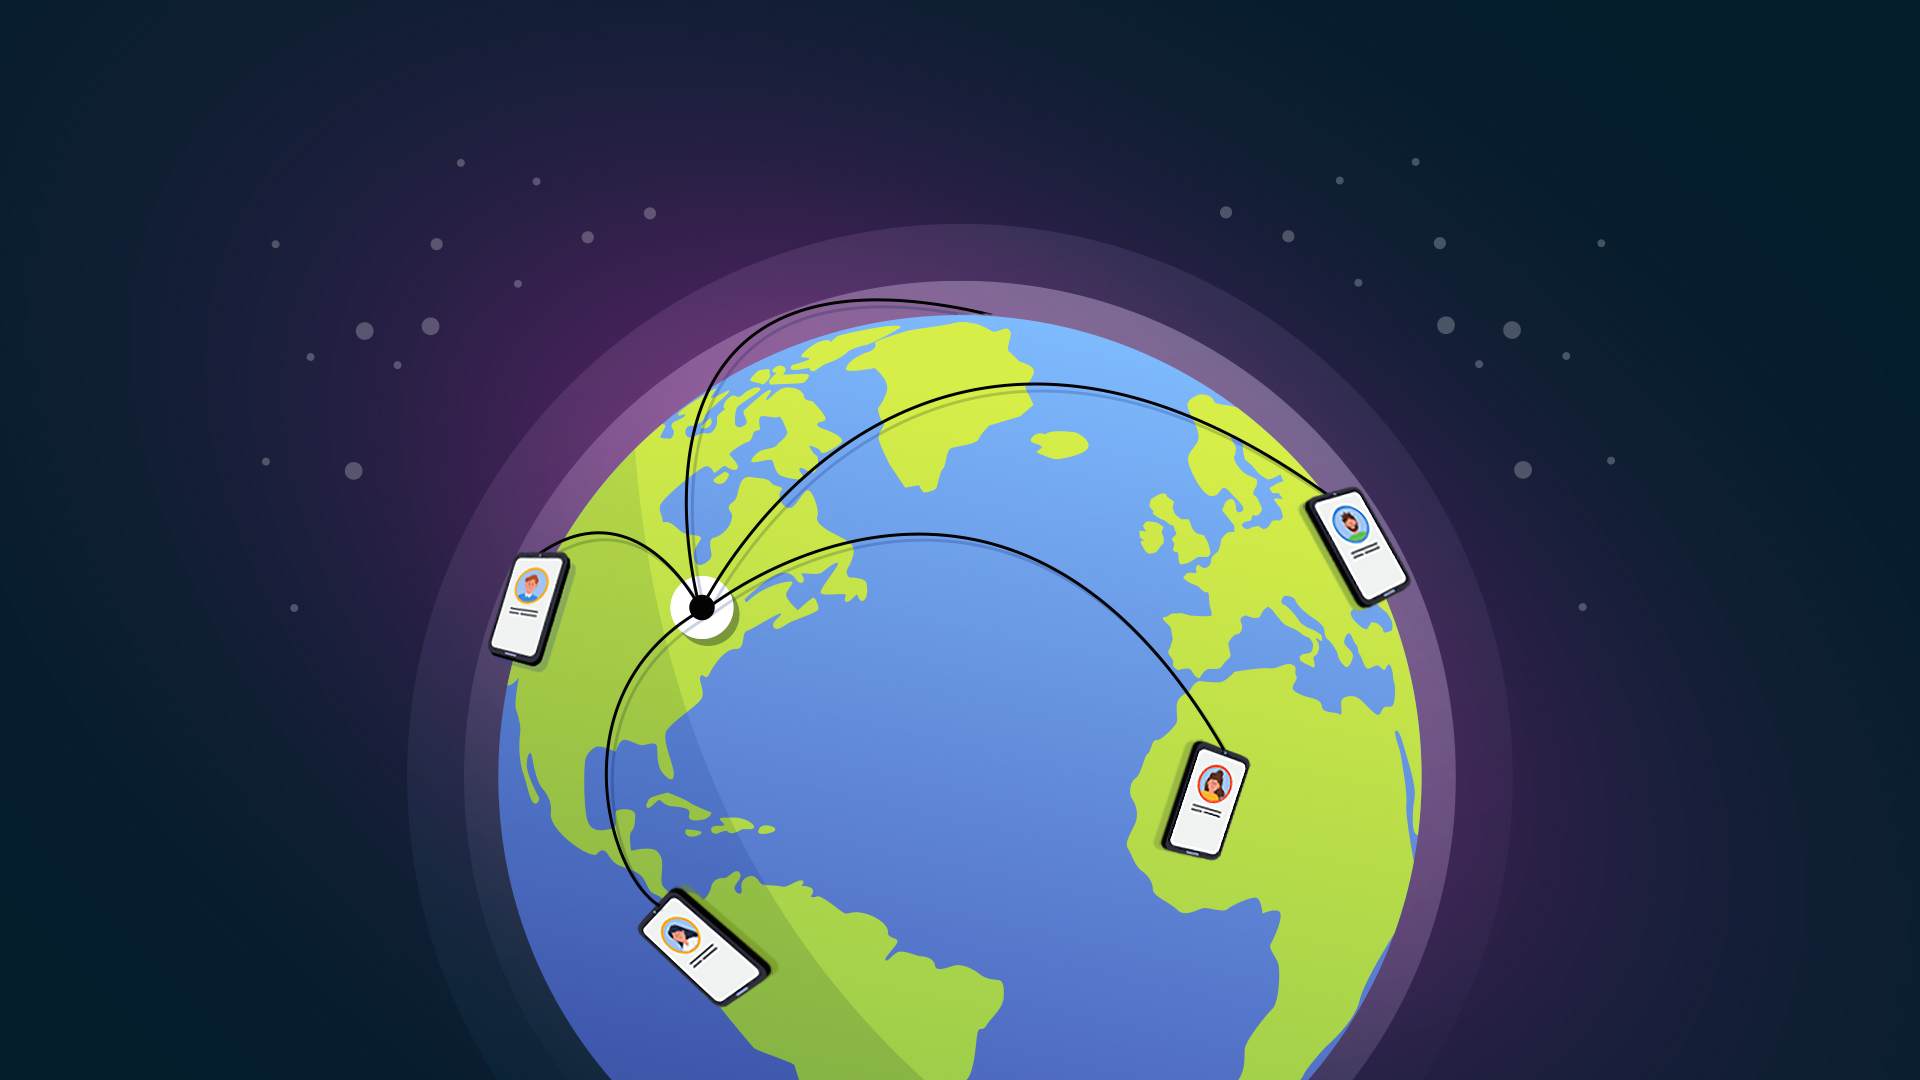
These two features are usually taken care of by a special application installed on the target device, which constitutes one part of a larger Mobile Device Management solution. MDM is basically a set of interconnected components that enable management of remotely deployed mobile devices.
Commercial MDM and EMM Solutions
In Android world, most vendors that provide commercial MDM solutions also provide a larger set of Enterprise Mobility Management (EMM) features. While these two concepts aren’t fully equivalent, I’ll use the terms MDM and EMM interchangeably in this article.
Commercial EMMs that work with stock Android devices and rely on Google Play need to be certified by Google. Therefore, Google knows about all of them and you can find the full list of companies that provide this service on Google’s website. If you select “Dedicated Device Management” checkbox on the left, you’ll see the products that support COSU devices management.
The benefits of using a commercial solution from a respectable vendor is that you’ll probably get a reliable software, many features and good support (though nothing is guaranteed, of course). These systems are battle-tested and are ready to be deployed on your devices once you close the deal. Their web-interfaces are rich with data and (hopefully) intuitive to use.
The drawbacks of using commercial EMMs are their price and vendor lock-in. We’ve evaluated some commercial EMM solutions with my past clients and their costs ranged $2-$10+ per device per month. This might not sound that much, but if a company has 10,000 deployed devices, we’re talking about hundreds of thousands per year. Now, there is no shortage of large corporations which will happily pay this price and then add some extra for specific SLA. However, if a company is an early-stage startup, or their business model is predicated on making a marginal profit from each deployed device, or they expect to deploy tens (or hundreds) of thousands of devices, then this math might not work out. Furthermore, when you build your deployment strategy on top of third-party EMM solution, you create a serious vendor lock-in.
Said all that, if you need advanced EMM features, like the ability to add work profiles on personal devices (so-called Bring Your Own Device – BYOD), commercial EMMs are pretty much your only option. It’s also your only option if you want to rely on Google Play. But if you just want to manage a fleet of COSU devices, then you can implement the most important features yourself. Let’s see how.
Implementing Device Owner Android Application
Device owner is a special status that can be granted to a single application on an Android device. Once the app becomes a device owner, it gets access to special features not available for regular apps: the ability to let other apps (or itself) enter kiosk mode, install APKs transparently to the user and more. Not every application can become a device owner, though. Only applications that implemented a special logic which you’ll see next can be granted this special status.
To make the app eligible to become a device owner, first, add a special BroadcastReceiver that extends from DeviceAdminReceiver:
public class DeviceAdminBroadcastReceiver extends DeviceAdminReceiver {

    @Override
    public void onEnabled(Context context, Intent intent) {
        // invoked when this app becomes device owner
    }

    @Override
    public void onDisabled(Context context, Intent intent) {
        // invoked when this app stops being device owner
    }

    @Override
    public void onLockTaskModeEntering(Context context, Intent intent, String pkg) {
        // invoked when any app enters "kiosk" mode
    }

    @Override
    public void onLockTaskModeExiting(Context context, Intent intent) {
        // invoked when exiting "kiosk" mode
    }
}
From the names of the methods in this BroadcastReceiver you can already see the intercoupling between device owner and kiosk functionalities (“lock task mode” is Android’s term for “kiosk”).
To enable DeviceAdminBroadcastReceiver, add the following code into your AndroidManifest.xml file:
        <receiver
            android:name="com.yourapp.DeviceAdminBroadcastReceiver"
            android:exported="true"
            android:label="${appName}"
            android:permission="android.permission.BIND_DEVICE_ADMIN">
            <meta-data
                android:name="android.app.device_admin"
                android:resource="@xml/device_admin" />
            <intent-filter>
                <action android:name="android.app.action.DEVICE_ADMIN_ENABLED" />
                <action android:name="android.app.action.DEVICE_ADMIN_DISABLED" />
            </intent-filter>
        </receiver>
And then create res/xml/device_admin.xml file:
<?xml version="1.0" encoding="utf-8"?>
<device-admin>
</device-admin>
The above configuration file is used to specify special capabilities that your device admin implements, but you can leave it empty if all you want is to enable kiosk mode and update the installed app.
Enabling Device Owner Feature
The simplest way to make your application a device owner is to use Android Debug Bridge over USB (or Wi-Fi). Invoke the following command (must be done before you set up any accounts on the target device):
adb shell dpm set-device-owner com.yourapp.appid/com.yourapp.DeviceAdminBroadcastReceiver
The first part of the argument specifies your app’s applicationId value from build.gradle file. The second part specifies the fully-qualified name of the BroadcastReceiver that you implemented inside your app.
If the command succeeds, you’ll get the following output:
Success: Device owner set to package ComponentInfo{com.yourapp.appid/com.yourapp.DeviceAdminBroadcastReceiver}
Active admin set to component {com.yourapp.appid/com.yourapp.DeviceAdminBroadcastReceiver}
As you can infer from this message, “device owner” and “device admin” aren’t exactly the same beast. That’s indeed the case, but, in the scope of the two features we’re looking at in this post (kiosk and app updates), the difference is not important, so we’ll just gloss over it.
Making the Application Kiosk
Once your app becomes a device owner, it’ll be able to grant the permission to enter kiosk mode to other apps, or to itself. For simplicity, let’s say you want to lock the same app into kiosk. To achieve that, grant the permission to use so-called “lock task mode” to the package associated with the app:
    public void allowLockTaskModeToThisApp() {
        DevicePolicyManager dpm
                = (DevicePolicyManager) context.getSystemService(Context.DEVICE_POLICY_SERVICE);
        ComponentName deviceAdmin
                = new ComponentName(context, DeviceAdminBroadcastReceiver.class);
        dpm.setLockTaskPackages(deviceAdmin, new String[] { context.getPackageName() });
    }
A very reasonable place to call this function from would be onEnabled method of the aforementioned DeviceAdminBroadcastReceiver class.
Once you invoke the above method, your app will have the permission to enter kiosk mode. To actually turn the app into kiosk, you’ll need to call the following method inside one of your Activities:
    public void enterKiosk() {
        ActivityManager activityManager
                = (ActivityManager) getSystemService(Context.ACTIVITY_SERVICE);
        if (activityManager.getLockTaskModeState() == ActivityManager.LOCK_TASK_MODE_NONE) {
            startLockTask();
        }
    }
I usually just put this code into onResume method inside my BaseActivity class. This way, visiting any Activity will lock the app into kiosk.
If you need to quit the kiosk mode for any reason, call this method inside your Activities:
stopLockTask();
Updating the Application
So far, we’ve covered the basics of the device owner feature and how to make your app kiosk. Now let’s talk about the other critical aspect of COSU deployment – how to update your application remotely.
In general, once you don’t use a third-party app store as a distribution channel, you’ll need to take care of hosting the APKs of your application yourself. The application needs to be able to “find out” when a new version is available (either through polling or push notifications) and then it needs to download the respective APK to a local storage. This process is rather standard and applies to many different types of files that your app might use, not just APKs, so I won’t spend much time on it. It’s what happens after the APK is downloaded that’s interesting here.
If your application isn’t a device owner, it can’t install/update APKs unless the user approves it explicitly. However, device owner has more capabilities in this context, so it can use the following method to install APKs without user intervention:
    public void installApk(File apkFile, String packageName, IntentSender intentSender) throws Exception {
        PackageInstaller packageInstaller = packageManager.getPackageInstaller();

        PackageInstaller.SessionParams params = new PackageInstaller.SessionParams(
                PackageInstaller.SessionParams.MODE_FULL_INSTALL);
        params.setAppPackageName(packageName);

        int sessionId = packageInstaller.createSession(params);
        PackageInstaller.Session session = packageInstaller.openSession(sessionId);
        InputStream in = new FileInputStream(apkFile);
        OutputStream out = session.openWrite("myapp", 0, apkFile.length());

        byte[] buf = new byte[1024];
        int len;
        while ((len = in.read(buf)) > 0) {
            out.write(buf, 0, len);
        }

        session.fsync(out);

        try {
            in.close();
            out.close();
        } catch (IOException e) {
            // no-op
        }

        session.commit(intentSender);
    }
The arguments apkFile and packageName are self-explanatory, but what’s intentSender? This component will send a predefined PendingIntent once the APK is installed. For example, you can update the device owner application itself and then start a specific Activity in this manner:
        IntentSender intentSender = PendingIntent.getActivity(
                context,
                1001,
                new Intent(context, PostUpdateActivity.class),
                PendingIntent.FLAG_UPDATE_CURRENT | PendingIntent.FLAG_IMMUTABLE
        ).getIntentSender();

        installApk(apkFile, context.getPackageName(), intentSender);
In addition to the above code, which takes care of APK installation, you’ll also need to add flow control and error handling logic. These parts should be discussed with your product managers.
Additional Challenges
If this article made the implementation of kiosk applications on COSU devices sound reasonably simple, I’d like to correct this impression because kiosk applications that use custom in-house MDM solutions are actually very challenging. So, let’s discuss what can go wrong.
First, many types of problems become catastrophic. For example, imagine that you release a new version where you accidentally broke the feature that downloads and installs the newer APKs. In this situation, your company will need to send technicians to all the deployed devices that received the buggy version and either update the app manually (if that’s possible), or replace the devices themselves. You might think “no way we’ll make this kind of mistake”, but there are other, even simpler catastrophic scenarios, which don’t involve bugs at all. For example, imagine that your kiosk app can detect a special error condition and show a sticky notification screen in this case, which persists even after device reboot, until the problem is fixed. Simple, right? But what happens if product manager forgot to add an option to open Wi-Fi settings from this screen? Well, in that case, if the device disconnects from Wi-Fi and can’t reconnect to it (e.g. password changed), it’ll get stuck on that error screen forever. Once again, clients will need to contact your company’s support to resolve this issue.
In addition, once a company deploys a fleet of devices, it’ll need to monitor and control them. You want to be able to get the status of the devices, their configuration, versions of software and firmware they run and other information. In addition, you might want to be able to restart, block, factory reset, etc. the deployed devices remotely. If you choose custom MDM, implementing all these advanced features becomes your responsibility. In addition, you’ll need some kind of web portal to access all this information and use the control features. That’s a lot of work.
The above examples should give you the general idea of the complexity, the delicateness and the scope of the task of deploying kiosk COSU devices using custom MDMs. In general, when you walk through the airport and see blue screens or error messages on TV screens, can’t withdraw cash from ATM because it’s stuck, face malfunctioning self-checkout stands at your local supermarket, etc., you encounter broken kiosks. I believe that all of us had had these experiences, so the challenges I described above aren’t abstract in any way – they affect kiosks even from the most respectable of vendors, in the most regulated industries, every day.
Dependency Injection with Dagger and Hilt Course
Learn Dependency Injection in Android and master Dagger and Hilt dependency injection frameworks.
Go to CourseSummary
In this post I described the general concepts related to kiosk apps and custom MDM in Android and showed you the basic approach to implement these features. This should give you a very good start if you need this functionality. However, I also wanted to warn you that this will be a long and a difficult journey which will consume a lot of your company’s resources. So, proceed with caution.
At the end of a day, it’s a business decision: pay the price for commercial MDM/EMM solutions, or spend months of effort building your own. There are complex trade-offs here, so each company should evaluate them and decide, having their specific situation and goals in mind.

So happy you’re still posting so I can learn! Thanks for the article, Vasiliy – now I know exactly where to begin if I ever get the opportunity to encounter this.
If you ever come to Vancouver, BC. Please allow me to buy you a coffee.
Glad you liked the post. I accept your invitation and we’ll have coffee if I come to Vancouver!